A fan is an actual household appliance in the summer, when there is an abnormal heat prevailing on the street, and acquiring an air conditioner is an idea that does not make sense. The fan can be assembled completely independently, following the exact instructions. Any person, even those who are far from technology, will cope with this task. The work will not be long, but the result is worth it.
Fan
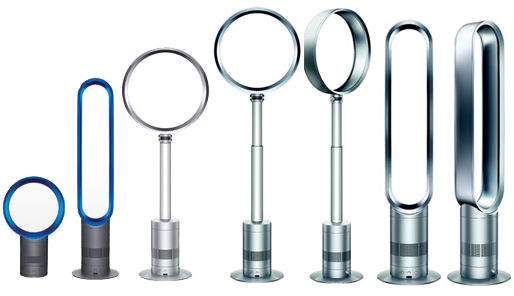
Types of fans
There are various types of fans, which are divided by the method of mounting on:
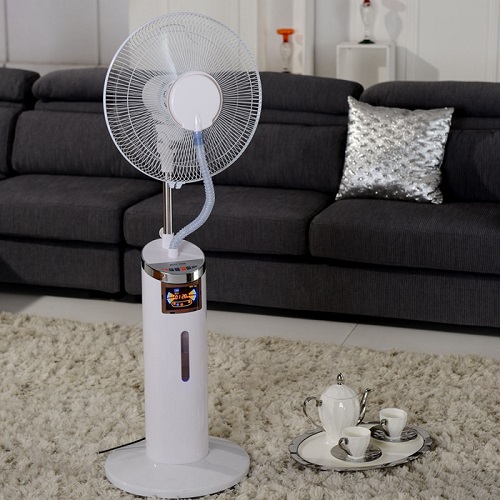
- floor;
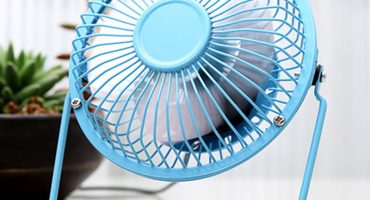
- tabletop;
- ceiling.
The last two species do not need assembly after they have been purchased. The latter type (ceiling) is installed in a specially prepared installation place.
Views differ from each other in power, size, number of speeds, various additional functions and so on.
The first type of fan is one of the most popular methods for cooling. The main reasons for this prevalence are low cost, ease of use and installation, low energy consumption, mobility, and versatility. The floor fan does not take up much space in the room.
According to the method of operation, floor fans are also divided into:
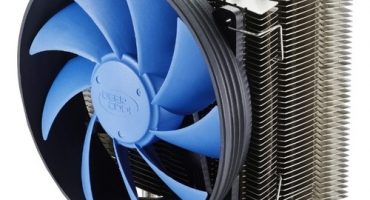
- Axial. These are devices that are equipped with an electric motor and blades. These blades “rotate” the air flow during rotation.

Axial
- Radial. The mechanism is made in one case. By means of a rotor and air blades it is drawn in, and then pushed out.
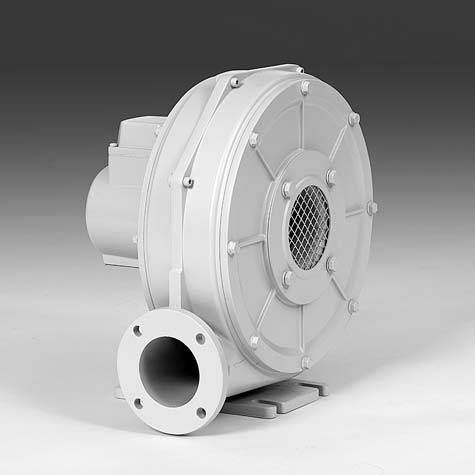
Radial
- Vaneless. This variety is a round frame with a motor. The air flow is first sucked in and then pushed out with acceleration.
Bevelless
Axial floor fans are the most common type. The entire room is not blown, but only a separate space.
How to assemble an axial floor fan: walkthrough
Today you can buy products from a wide variety of manufacturers. The mounting process has distinctive features for each manufacturer, however, you can highlight the general instructions. This process involves three steps:
- mounting the bottom of the device;
- top assembly;
- fan operation check.
You can start mounting both the lower and upper sections of the device.
Some models are equipped with an air ionizer and a remote control, but this does not affect the mounting process.
Let's consider each stage of installation separately.
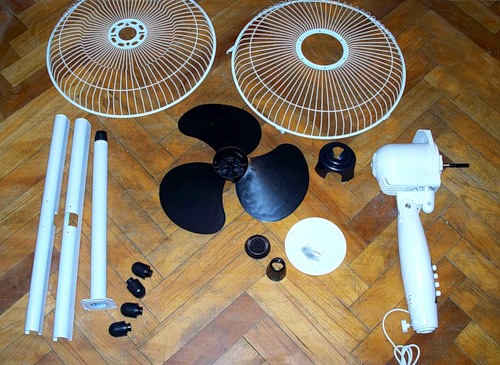
Structure
Support mounting
The steps to be taken to mount the support:
- First you need to unpack the device.
- The crossbars of the support, which is arranged in the form of a cross, are inserted perpendicular to each other.
- The crossbeams are connected and the lower part of the vertical riser, which is located inside the tube. Four bolts are used to connect.
- Plugs are installed on the end parts of the supports. The plugs are in contact with the floor.
- Next, the telescopic tube extends and is fixed. The tube is fixed with a plastic nut at the desired height.
With a disk base, bolts and nuts are also used.
Top assembly
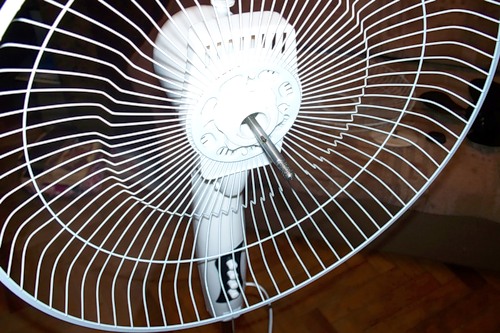
Top part
The following instructions must be followed:
- The rear mesh of the casing is fastened to the drive part. She is seated in grooves and attracted with a nut.
- A wheel with blades is mounted on the motor axis through the connector.
- Next, the installation and fixing of the front grille shrouds.
- The tube is inserted into the motor block. The motor is mounted on the rack. A locking screw is used for this. It is located at the place where these parts are connected.
The shaft seat can be without grooves, the impeller in this case is fixed with a screw. In the event that the motor is not connected to the unit, it must be connected using a screw or bolt.
After assembly, the fan can be used exactly as instructed. The blades of the device should easily rotate “by hand”. The operation of the device after switching on should be without noisy sounds and any smells in any mode. If this is not the case, then contact the store to replace the device or simply return it. At the time of purchase, immediately verify that you have all the necessary components and that the fan is working.
The fan does not work
There are five reasons why a device may malfunction:
- The grease is dry.
- The capacitor is dry.
- Fuse or thermal relay blown.
- Windings closed or wires broke.
- The motor shaft has shifted.
The main problem of devices that are cheap is the wrong casting of the blades. As a result of this problem, an imbalance begins. As a result of the imbalance, the bearings begin to break, and the gaps become larger.
It is impossible to exert this influence, since the device was originally sold with this defect. Visually, it can work normally, that is, spin, but not blow. The petals are damaged, so air is not thrown out.
This problem may occur after long periods of use when the device has been exposed to direct sunlight for a long time. The impeller, heating up, begins to change its shape over time.
It may be that the device does not spin. The reason for this is dried grease. The device wedges, loses speed. As a result, the load on the motor becomes greater. The engine, which is wound with a thin wire 0.2 mm thick, starts to heat up, and then the windings burn out.
As a rule, the device stops rotating. It starts to buzz, the impeller stops spinning.
Analysis of the device
Parse instruction:
- Remove the center screw located on the back of the casing.
- Another self-tapping screw is located in the adjusting lever.
- Remove the back cover. It can be easily removed. Before the eyes there will be a rotary gear reducer. A special traction is suitable for the gearbox. On top is a starting capacitor.
- To get to the bearing, it is necessary to remove the gearbox. It is fixed with three screws.
- Tighten the screws and disconnect the link. Remove the gearbox.
- Then use the spray can WD40. Put on his narrow tube. Several times you need to spray in the gap, which is located between the shaft and the bearing.
- With your own hand, rotate the shaft in different directions. Start moving it back and forth.
- Dried grease, debris, dust and any other particles come out. It is only necessary to eliminate the surplus. You can do this with cotton buds.
- At the end of the cleaning procedures, drip oil for the sewing machines onto the bearing.
- Fan assembly is carried out in reverse order. Therefore, remember the sequence.
The assembly and disassembly process is not difficult. You do not need to have any specific skills for this. The main thing is to follow the exact instructions. When purchasing a household fan, be sure to check the accessories and performance.