Thermometer is a necessary means by which many measure the temperature of the air in the house, water, as well as the body. On sale there are various models of devices that differ in appearance, method of measurement (mercury, infrared, electronic), as well as in cost.
But if you wish, you can make a thermometer from improvised materials with your own hands. The process will require patience and endurance, and savvy will also be required.

Liquid thermometer
Types of thermometers that you can do yourself
A do-it-yourself device will last a longer period.
But before you start manufacturing, it is worth considering the types of thermometers:
- liquid devices, they usually contain a liquid substance (alcohol, mercury);
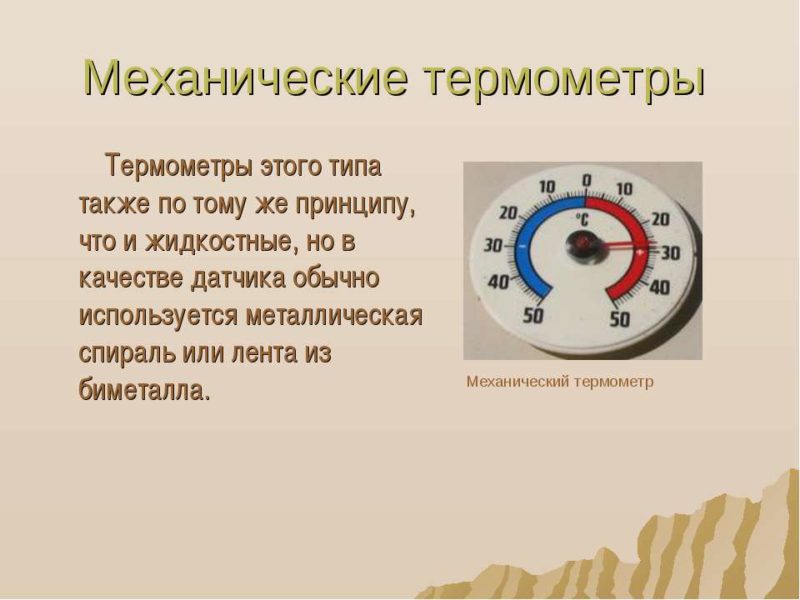
- devices operating on a mechanical principle; spirals or bands of metal alloys are installed in them;
- electronic thermometers - respond to changes in metal temperature. Using these instruments, measurements can be performed in large temperature ranges - from -200 to +850 degrees;
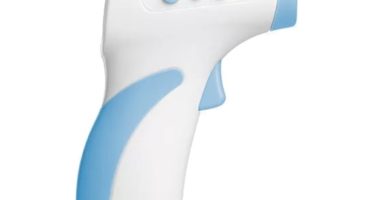
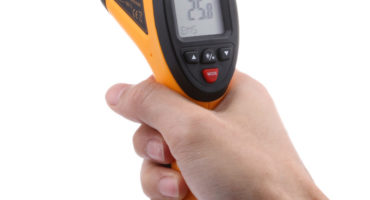
- infrared and other optical devices that allow measurements of body temperature and other surfaces. Measurement using these instruments is usually carried out in a non-contact manner;
- manometers, pyrometers, electrothermal devices.
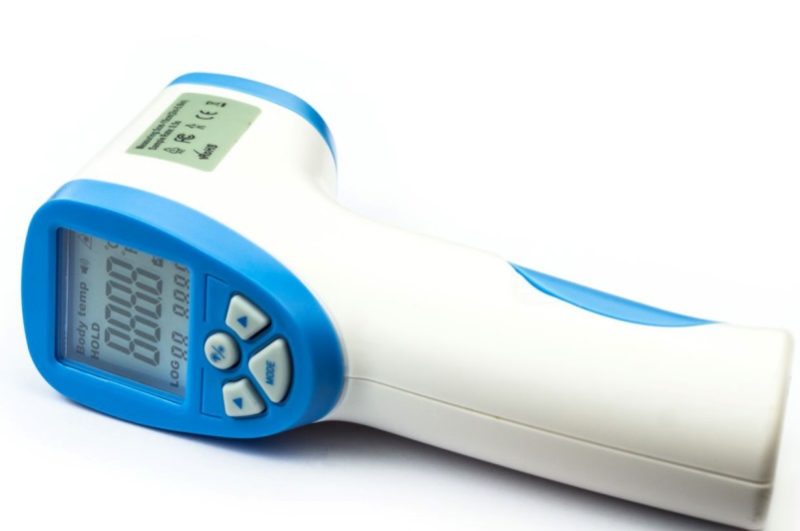
Infrared Non-Contact Thermometer Model
You can make yourself different types of thermometers - liquid, with a mechanical principle of operation, having metal spirals or tapes, electronic or digital.
The simplest option is a cardboard product, making it quite simple.
Electronic and digital devices require experience, knowledge of electronics. For their manufacture, various schemes can be applied that need to be connected correctly. Such devices are often used for freezers.
How to make a thermometer
The device can be made from improvised materials that are available at home.
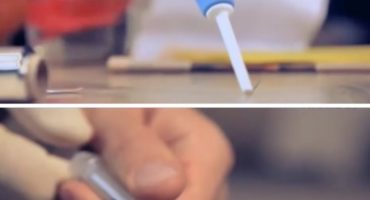
From a plastic bottle
A homemade thermometer from a plastic bottle makes it simple, most important, to prepare for the process. First you need the materials:
- plastic bottle with a height of 20-25 centimeters;
- tap water;
- medical alcohol;
- food coloring;
- measuring capacity;
- pipette;
- thin tube made of glass or plastic;
- vegetable oil;
- plasticine or molding clay;
- ruler;
- thin rod marker;
- white paper with a dense structure;
- Scotch;
- cold and hot water;
- a regular thermometer, which will be required for calibration.

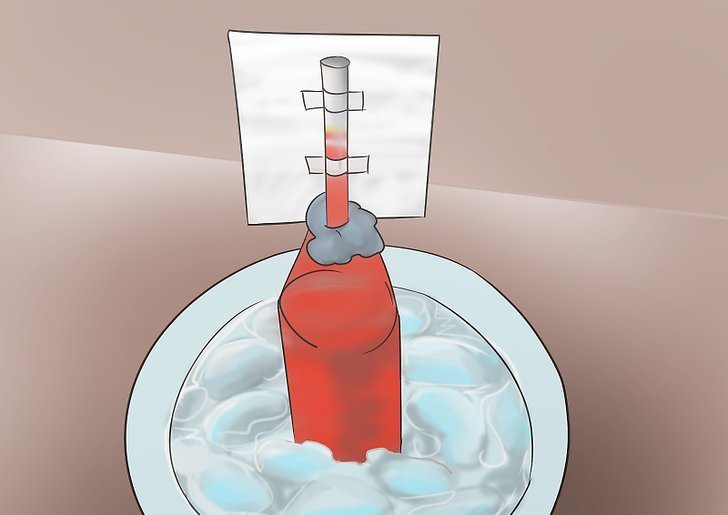
Homemade thermometer
The manufacturing scheme of a homemade device looks like this:
- Pour water and medical alcohol in 1: 1 proportions into a container (plastic bottle).
- Then in the solution you need to add a few drops of food coloring. It should be added using a pipette.
- Dye is required to easily detect temperature changes.
- It is important that the solution fills the bottle to the brim.
- After that, a tube of plastic or glass is inserted into the bottle. Insert it carefully so that the water does not spill out.
- Lift the top of the tube over the neck so that it protrudes about 10 centimeters, the other end should not reach the bottom of the bottle.
- We install the tube correctly and fix it using molding clay or plasticine.
- The blockage must be tight so that no liquid can escape from the container.
- On the side, a strip of white thick paper should be attached to the tube. It must be placed on the back of the tube and attached using tape.
- Paper is required to facilitate control of the fluid level in the tube. Also in the future, it will be possible to put tags on it.
- The measuring solution also needs to be added to the tube, it should be added using a pipette.
- It is important that the liquid in the tube rises to a height of five centimeters above the neck of the bottle.
- Next, add a drop of vegetable oil to the tube. This must be done carefully, it is better to use a pipette.
- Vegetable oil will prevent the evaporation of the measuring fluid and increase the life of the homemade thermometer.
Test
After the thermometer is fully assembled, it must be checked. To do this, it must be lowered in bowls with cold and hot water. When placed in cold water, the liquid level in the tube should decrease; in hot water, it should rise. If this happens, it means that the device is assembled correctly.
You can calibrate the product using a conventional thermometer. To do this, it should be brought to the paper, slightly leaned against and with the help of a marker to apply marks. Calibration will help you use a makeshift device to measure air or liquid temperature.
Difficult option - electronic thermometer
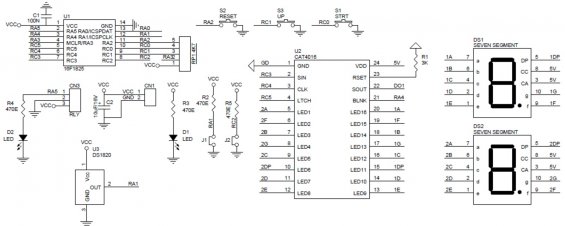
Device diagram
Deciphering Scheme Indicators
If you are fond of technology, then you can make an electronic thermometer. But he will need to purchase special parts. For self-manufacturing, a simple device with the following indicators is suitable:
- temperature range from 0 to 99 degrees Celsius;
- input power level 4.5-5V DC;
- indicator of current consumption - 20 mA.
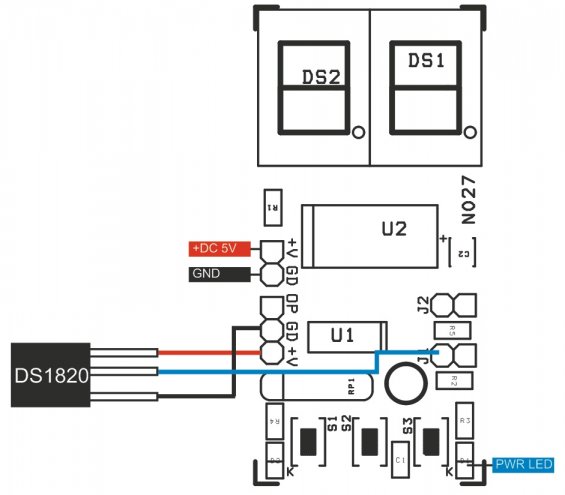
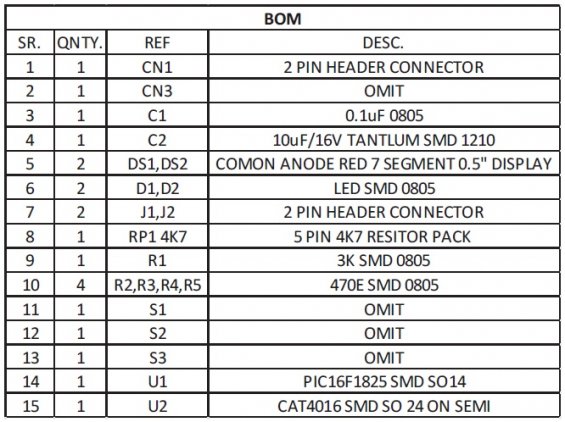
Electronic thermometer board (connection diagram).
To make an electronic device for measuring temperature, you will need to purchase a special board. If you want the readings to be clear and can be seen from afar, it is better to use large and bright LED indicators. The correct connection and connection of external elements to the board is shown in the figure.
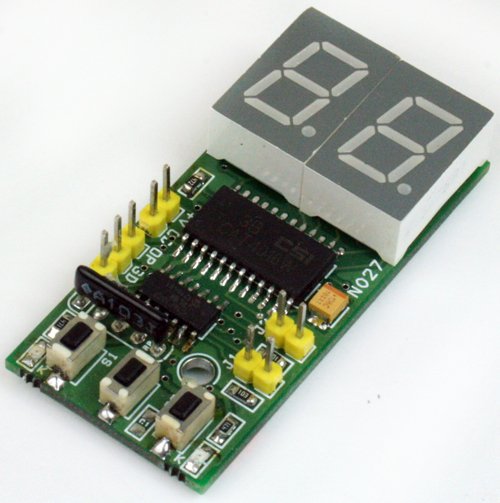
Board with external elements
If the thermometer will be used to measure outdoor temperature, it must be mounted in a special box with a power adapter inside the apartment. The temperature sensor itself is connected using a flexible cable.
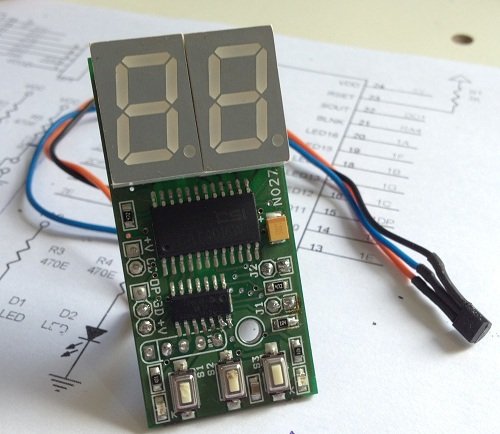
Flexible circuit board
Advantages and disadvantages
The advantages of a self-made device include:
- simple manufacture;
- can be made from cheap materials at hand, which is cost-effective;
- no aggressive substances are required. A liquid of water and alcohol may be used as a measurement;
- easy use;
- long service life.
But there are several drawbacks:
- electronic options have a complex manufacturing scheme;
- for products with electronic or digital devices, it is required to purchase special boards, circuits;
- sometimes products may show inaccurate measurements.
Homemade thermometers are a great way to save money on buying a new device. A self-made device will last much longer than cheap measuring devices.