A cooker hood is a device for the kitchen that allows you to remove unpleasant odors, evaporating liquids and children during cooking, updating and refreshing the air throughout the room. At the same time, the device itself is quickly contaminated, and some problems arise in the process of its operation, which are quite possible to fix on your own without resorting to the expensive services of workshops.
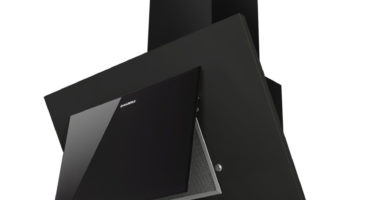
Standard cooker hood design
Equipment of any modification of the hood (Krona, Bosch, Asko, Elikor) contains standard components:
- four-speed engine - provides regulation of the air flow power of the exhaust fan. Due to this, air masses pass through the filters, in which heavy particles of fat are trapped;
- filters - today there are many different filters for circulation modules: ceramic, carbon, hydrogen, carbon-plastic, fiber optic, absorption. All of them work on the principle of rough cleaning of all types of material;
- lighting lamps. Lighting of the hob is carried out by LED lamps, halogen, ultrasonic and other light sources;
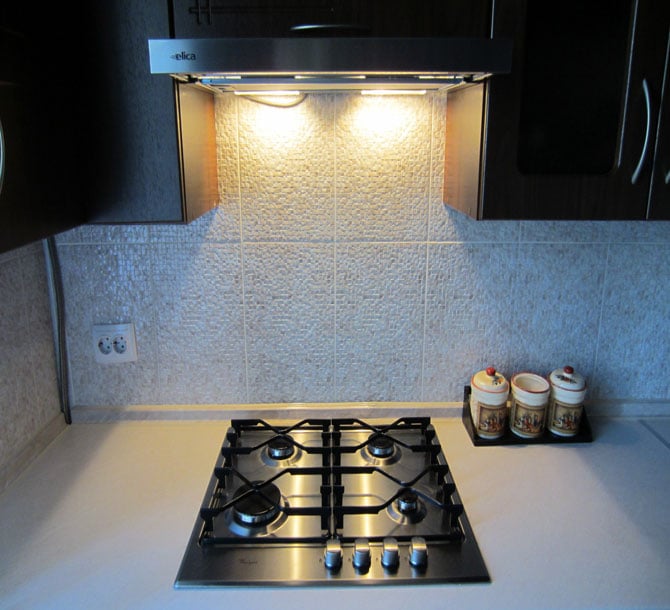
Instrument Lighting
- speed switching scheme - in various modifications of kitchen hoods, it is carried out using elements such as a switch, voltage regulator, dimmer, portable devices (switches, buttons, toggle switches).
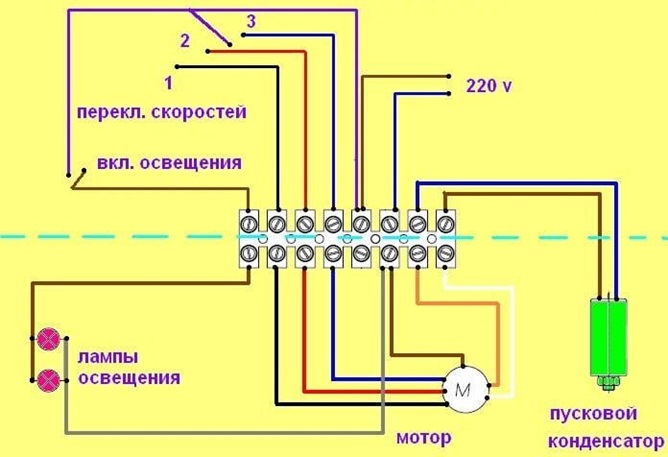
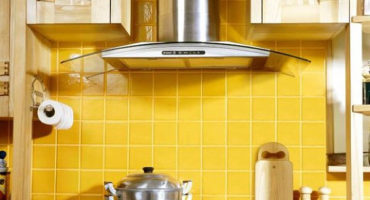
Hood design
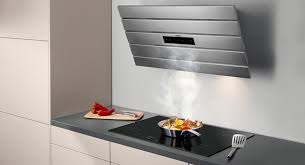
By installing a special application on a mobile phone, you can set the operation mode of the cooker hood.
Typical causes of device malfunctions
To understand the causes of possible malfunctions with an exhaust hood, you need to know the principle of operation of the device. It is based on push-pull indoor air cleaning:
- All large molecular particles of the intake air volume are cleaned.
- Filters all macro and micro elements of incoming oxygen.
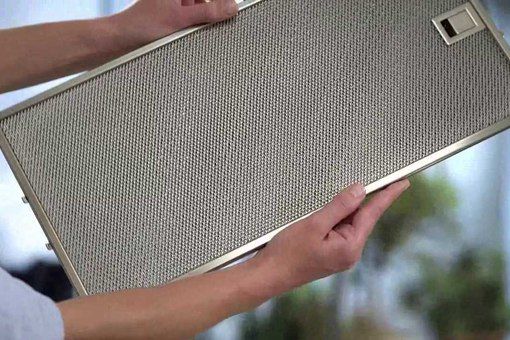
Metal filter
The further cleaning process depends on the type of apparatus construction (combined, circulating, evacuating) and filtration elements.
What malfunctions can occur in the work:
- problem with ventilation in the apartment - before installing the hood it is necessary check exhaust draft channel. If it becomes clogged, then all the circulated air, filled with unpleasant odors, will return back to the apartment or to the neighbors, and condensation will settle on the windows. Checking the traction force is very simple: you need to bring a lit lighter to the ventilation grill. If the flame deviates in the direction of air flow, this means that everything is in order with ventilation;
- contamination of the grease trap or filter in the hood - instructions for conducting preventive maintenance from filter contamination or self-cleaning of fat traps are included with the hood;
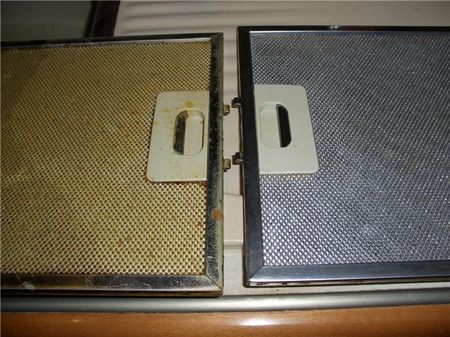
Dirty and clean filter
- malfunction of the lighting element - if the hood itself functions well, but the lighting does not work, the bulb most likely burned out. It is necessary to unscrew the grill and replace the lighting element, any housewife can easily cope with this task;
- lack of electrical power - the cause of this may be mechanical damage to the cord. A specific smell and soft insulation in small sections of the cord may indicate that it has burned out;
- problem with switches - to eliminate this malfunction, it is necessary to disassemble the hood and change the broken buttons.
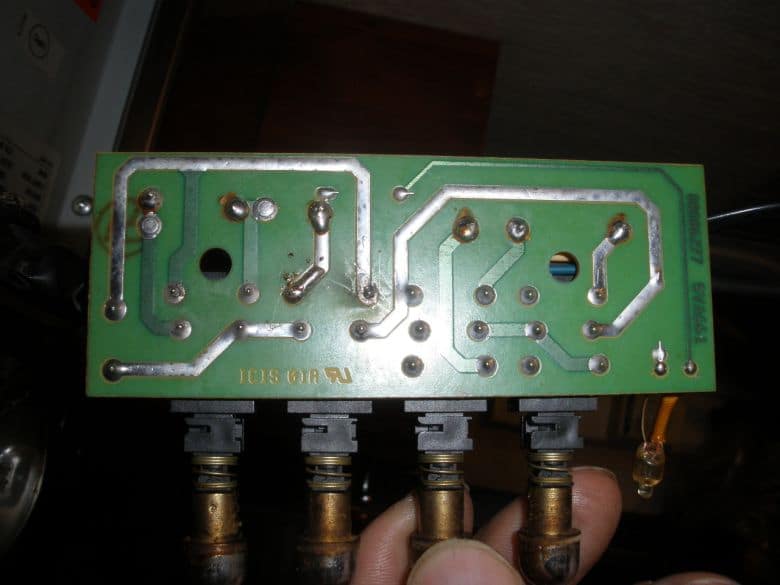
Switch Board and Button Replacement
Also, the reasons for the poor operation of the device may be breakdowns of the electronic interface exhaust fan malfunction, poor contact in the plug or socket, loosening of the terminals in the hood.
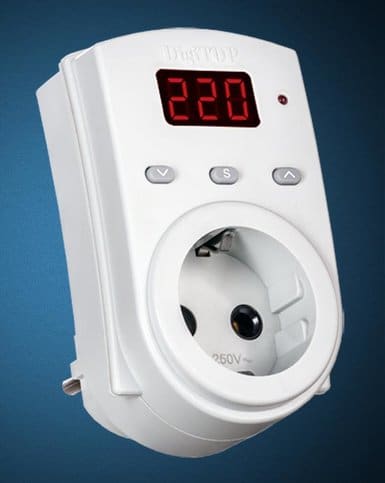
In order to protect the device from changes in the power supply network, it is worth purchasing a special voltage relay
Doing a DIY repair is easy. It is enough to carefully study the mechanism of the device, and the troubleshooting process will not be difficult.
How to disassemble a cooker hood yourself
In order for the hood to effectively clean the air in the room, it is necessary to clean the filter from accumulated fat deposits once a month. Modern manufacturers have tried to make this process as easy as possible for the average consumer.
Before you start disassembling the device, it must be disconnected from the power supply. Then read the instructions, as each model of the hood is disassembled and cleaned differently.
- The arrangement of filters is vertical and horizontal. To change the horizontal, it is necessary to place the slide in the “roll out” position, then remove the filter, assess the degree of contamination. If necessary, replace it with a new one or rinse in soapy water.
- When the filter element is in a vertical position, remove the exhaust pan and remove it.
- The next step is to remove the duct. It is not difficult to do this: you just need to pull it towards you and get it out of the ventilation system. We clean the pipe with cleaning agents.
- We check the ventilation performance with a special device - an oriometer. The norm of air movement is 0.3 cubic meters.
- Wash the surface of the hood itself with a cleaning cream and a dishwashing sponge.
- We assemble the device according to the factory instructions, without departing from the norms and rules for installing ventilation.
- In conclusion, we check the effectiveness of the air circulation, using such devices as a tachograph and gas analyzer.
How to disassemble the hood to wash
In order to extend the service life of the hood and maintain its working ability, regular cleaning of this device is required. Indeed, many people know that over time, burnout, grease, and plaque form on this device, which is quite difficult to remove. For this reason, it is important to know how to disassemble the hood in order to wash it.
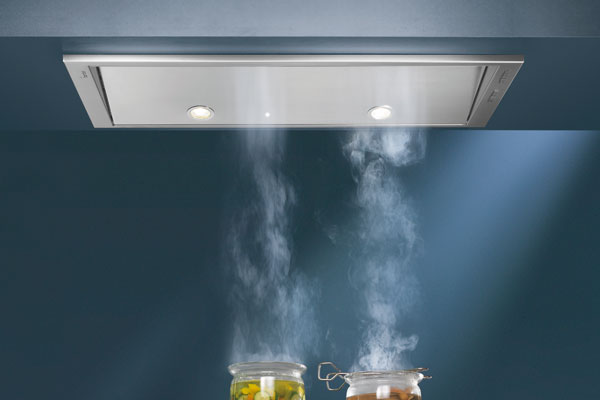
When exposed to various vapors, the appliance quickly becomes dirty.
Before starting to clean the device, it is worth following a few steps:
- First of all, it is required to study in detail the instructions, important recommendations of the manufacturer, which relate to the proper cleaning of the hood;
- it is necessary to carefully study the list of collapsible elements of the device;
- Before disassembling, you must disconnect the device from the electrical network;
- Dismantling and disassembling the exhaust device must be carried out in accordance with the characteristics of the process in the technical documentation - this will avoid the loss of important parts, as well as put them back in place.
If you want to rinse the hood, namely its important parts, then you must disassemble it. When disassembling, the following rules must be observed:
- First of all, you need to remove the upper surface of the case;
- then a mesh is removed that closes the internal cleaning device;
- All important parts and the retainer must be removed and placed in a separate container with soapy water. Leave them there for a while so that a coating of fat and burning comes off;
- then the filter is removed;
- at the end, a pipe is unscrewed, which is designed to remove contaminated air into the ventilation system.
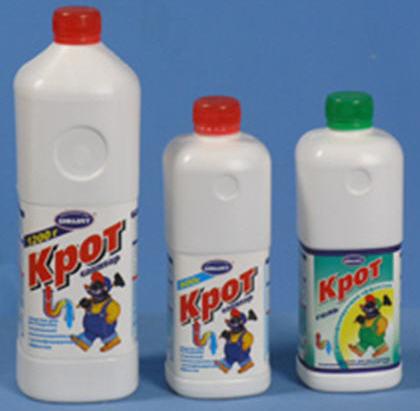
Cleaning chemicals
After all parts have been removed, you can proceed to washing the device. It is also required to clean all removed parts.When washing, you can use special cleaning products - both chemical and household.
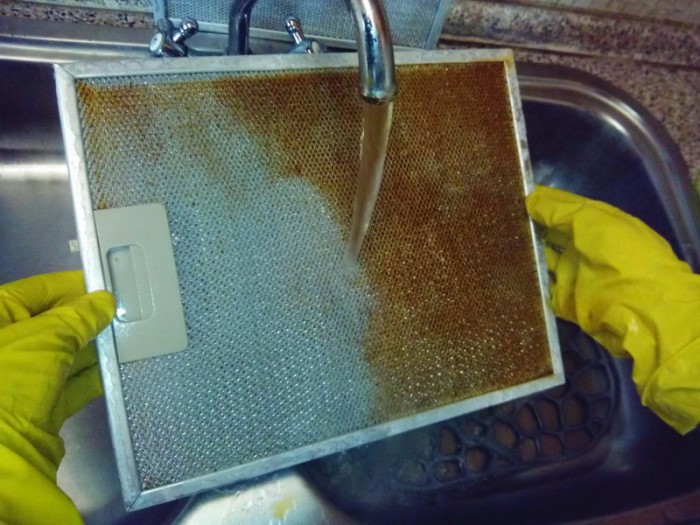
Filter cleaning