A meat grinder is a must-have kitchen utensil that should be in every home. Many housewives prefer modern electric appliances. There are many reasons for this: convenience, saving time and energy, stylish design. However, some still remain faithful to a conventional manual meat grinder - but how to correctly assemble it for work?
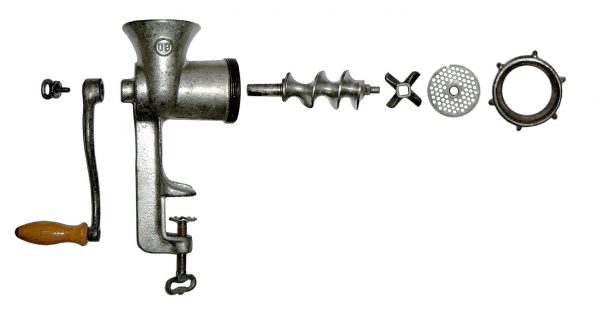
Soviet meat grinder
Design features
Before you assemble a meat grinder, you need to imagine what it includes. The manual model, or mechanical, is the most popular. It is in almost every home.
Its main part is the building. It is usually made of an alloy of metal. When the assembly of the device begins, a screw is inserted inside the case - this is the thread at the rear end, where the handle of the structure is mounted on a screw with a steel or plastic lamb. So, in order to prepare the Soviet mechanical meat grinder for work, it is necessary to set its components in front of you:
- housing;
- meat receiver (the part where the products are loaded, most often it is non-removable, that is, it is in the case);
- screw shaft (this is a spiral);
- knife (circular or winged, it is cross-shaped, resembles a propeller);
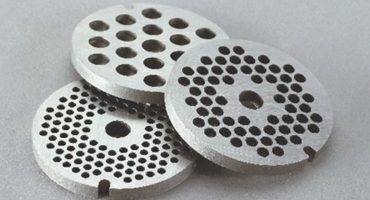
- grate (needed to grind the product as much as possible);
- clamping nut that secures the knife and grill);
- a handle that is fastened with a nut;
- screw or nut securing the handle to the housing.
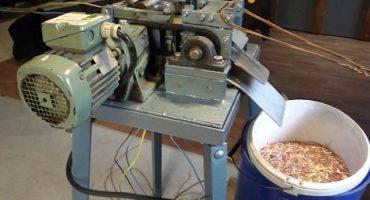
Manual meat grinder at work
It is easier to prepare an electric model, since its design is different from its predecessor, although it is very similar. A significant difference between an electrical appliance is its housing. If the manual one always looks the same and is made of metal, then in the second case (depending on the manufacturer), the case can be plastic, steel, made of alloy, different in shape. This device also lacks a handle, since it works from the mains - the device drives the engine inside the case.
An electric meat grinder consists of the following parts:
- housing;
- food receiver (similar to a bowl);
- auger (delivers products for grinding);
- knife;
- grille (round disk with holes);
- clamping nut that holds parts of the structure together;
- electrical mechanism (the engine that drives the device).
The principle of operation is that products are cut into pieces in a bowl. When they fall on the auger, they move down to the knife. The shank of the screw is connected to the wire. Simultaneously with the first rotates and the knife adjacent to the grill. The meat is chopped with a knife, then the auger pushes it through the holes of the grill into a plate. The sequence is simple.
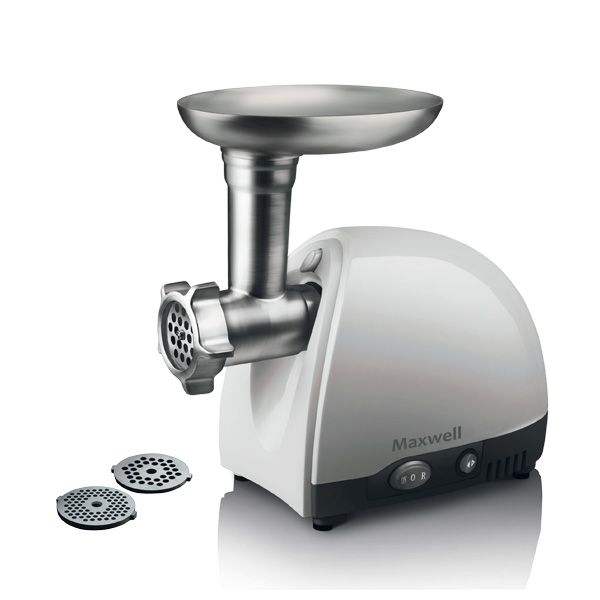
Electric meat grinder
Assembly diagram of electric and manual meat grinder
It is not difficult to assemble a meat grinder. It is much more troublesome to disassemble and clean it after use.
It is not difficult to prepare a manual meat grinder if you adhere to a specific sequence and know the names of the construction details. On the modern market there are two types of meat grinder: mechanical and electric. The first is also called manual, but it is made of steel. The case of electric can include not only steel, but also other alloys, it can even consist entirely of plastic.
If we compare the mechanical and electrical models, then the second one lacks a pen. Instead, the engine is inside the case.As a rule, the assembly scheme of a meat grinder of any kind does not cause difficulties, since the old Soviet design is known to everyone, and there is an instruction for electric. It is much more difficult to disassemble and clean it, as physical efforts must be involved in this process. What is this design intended for? Basically it chopped meat, crackers. It is suitable for cooking homemade sausages or minced meat. Before assembling, you must lay out clean parts in front of you.
Handheld Assembly Scheme
You can grind meat not only with a meat grinder, but also with a blender. It is even more convenient. However, the consistency of minced meat will be very liquid, it will resemble mashed potatoes. Both devices are good and have their purpose. If there is no blender, then you can buy additional accessories. For example, to a handheld device - several double-sided blades, gratings of different diameters, knives.
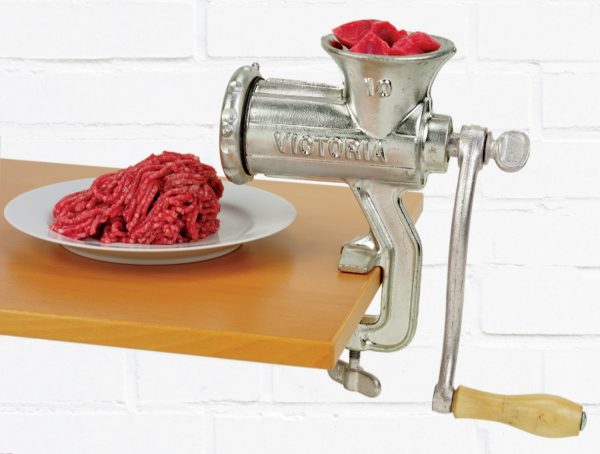
Assembling a manual meat grinder
How to assemble a manual meat grinder quickly step by step? This is pretty easy to do. Perhaps the old model is in any house, but to use it, adhere to the assembly scheme of the device:
- First, take the meat grinder body and spiral (auger shaft). In the second part, one side is thinner than the other - this means that a knife and grill are attached to it, and a handle is attached to the thickened one. The shaft is mounted so that the thickening is visible from the outside. Then a handle is mounted on it and fixed with a screw.
- A knife is located on the other side of the shaft. The winged knife is convex on one side and flat on the other. The flat part should look at the grill. If the knife is a disk, then the cutting edges of this part should be near the grate. It is very important to fix the knife correctly, otherwise the meat will not be crushed, but choked. It is better to use the knives that come with the meat grinder.
- After installing the knife, attach the grill to the stem pin. This part should fit very tightly against the knife. Make sure that the lattice gets into the protrusion on the device case, otherwise it will not work to tighten the clamping nut.
- The last stage of assembly is fixing the previously installed elements with a clamping nut. It is twisted clockwise.
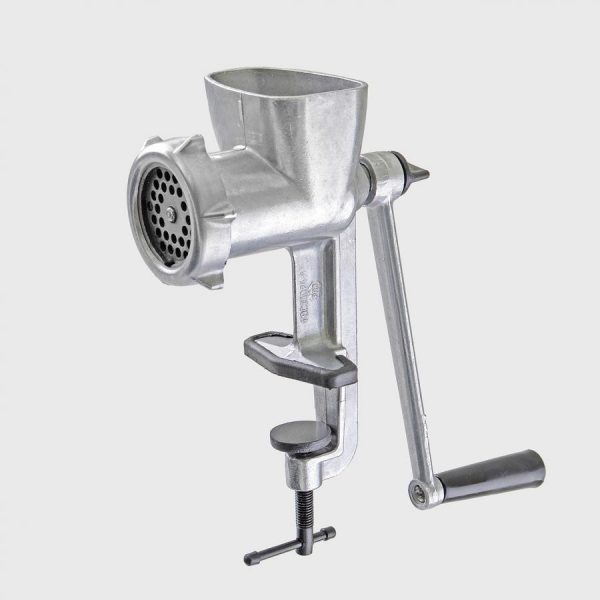
Please note that in Soviet models there is a special foot on the case, which is designed to attach the device to the work surface, for example, to the edge of the table. It is necessary to exert force to fix such a model. There is no such element in electrical devices, and modern hand-held devices are equipped with plastic legs, so it’s easier to attach them.
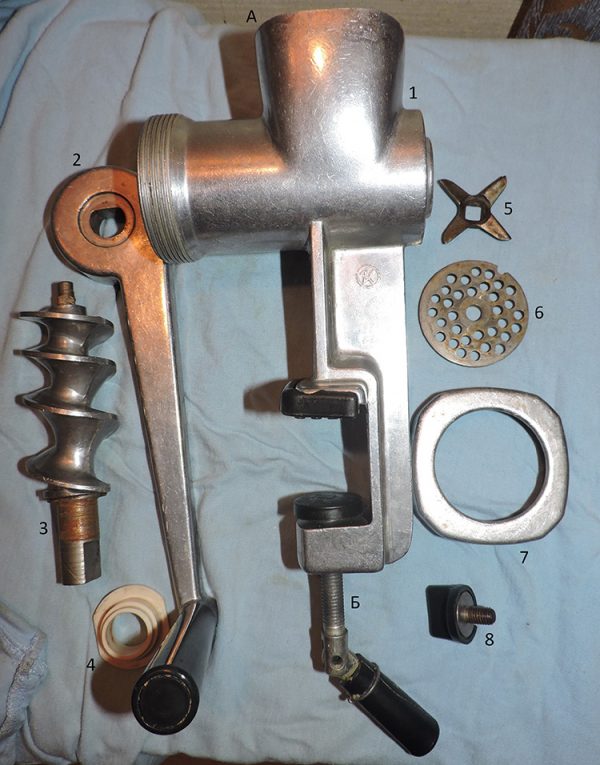
1. Housing 2. Handle 3. Screw shaft (spiral) 4. Rubber retainer 5. Cross-shaped knife 6. Lattice 7. Pressure nut 8. Handle retainer A. Meat receiver B. Presser foot
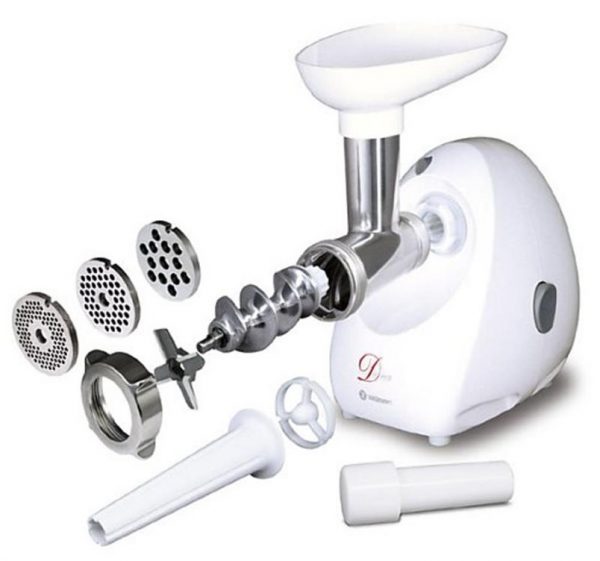
How to assemble an electric meat grinder
The step-by-step collection of a modern electric meat grinder, perhaps, will seem simple to someone, since a detailed instruction with assembly steps is attached to the household appliance. The design is arranged in the same way as the manual one. It works on the same principle. The only difference is that you do not need to exert physical efforts to grind the products:
- The meat grinder body is connected to the gearbox. It is inserted into the groove of the lid, turned counterclockwise to fix it.
- Further, a screw shaft is installed in the main part so that the protrusion of the shank enters the hole of the output shaft.
- After they put the grill and knife, all this is fixed with a clamping nut. First, the knife (blade out), then the grill, and at the end the nut.
- Then install the loading bowl in the neck of the housing. Now the meat grinder can work.
The motor of an electrical device replaces the efforts of man. All that is needed is to plug the appliance into the network and push the meat into the tube. Among the design features - a meat receiver is sometimes attached to the case of models from different manufacturers, and sometimes it is already built-in. The screw knife is held thanks to the grooved shaft. The pusher, the main function of which is to promote the meat into the mechanism, is included with the household appliance.An electric meat grinder, unlike a manual device, is installed where it is convenient - it does not need to be fixed.
Assembly sequence for electrical appliance
To assemble the device is one step, but it still needs to be disassembled and washed after work. To do this correctly, first start with a removable meat receiver. They take it out of the housing, unscrew the clamping nut. You can do this with a napkin or towel. After they remove the grill and knife, unscrew the screw holding the handle, remove it. Lastly, a screw shaft is pulled out. All components of the structure are cleaned of product residues, washed in a hot soapy solution, then dried on a napkin. Keep the meat grinder disassembled. The same is true for an electrical appliance.