We don’t always throw things away at once; many have irons, hair dryers, and some other household appliances in the pantry. And it is quite possible to find the old mixer, maybe even still working, which was replaced with a new modern unit. And it’s good that we haven’t thrown it away yet, because we have found some tips on what can be done from the old home mixer.
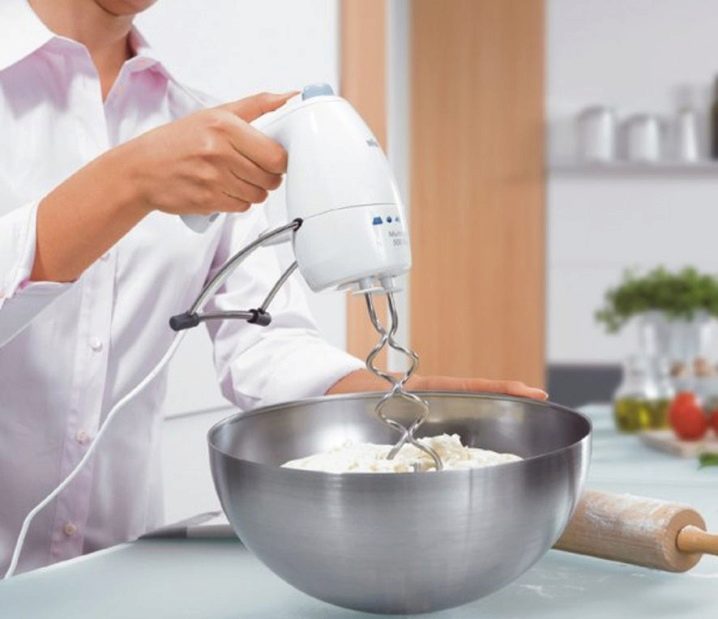
Figure 1 Do not rush to throw away old things
How to make a table grinder from a mixer?
You can make a grinder for sharpening knives or other objects only from a working mixer. For this we need a part of the body with a motor. Well, if it is a stationary tool with a removable portable bulb. The process of transformation will occur as follows.
- Prepare the mixer body, check its operability, as well as switching speed modes. If necessary, repair the electrical equipment.
- For a sharpening tool, a regular disk for a grinder with a diameter of 125 millimeters is suitable.
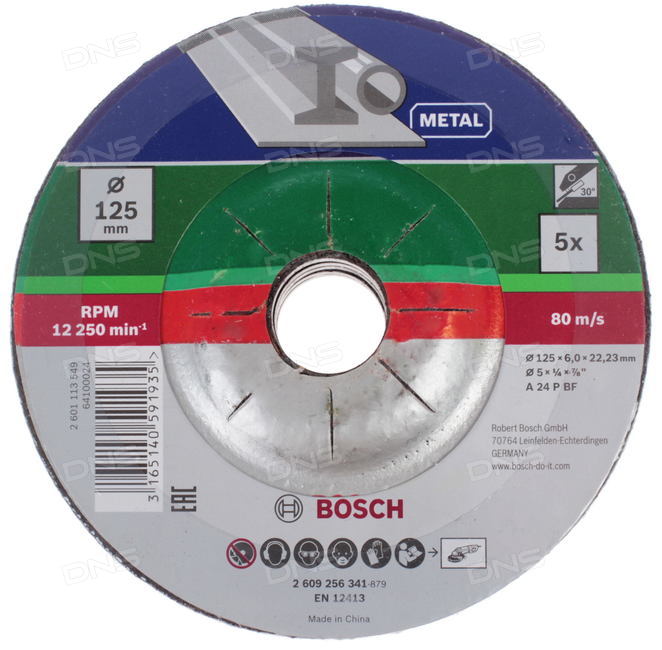
Figure 2 Sections 125 mm is enough for new equipment
- On the back of the disk, it is necessary to center the native metal nut as much as possible, then glue it to the disk with a hole in the center on the liquid nails, for strength, fasten another four screws.
- Next, you need to spin the disk on the mixer body until it stops along the thread. Then check the operability of the new device.
- On the disk, you can stick any cloth for grinding or polishing products. The quality of sharpening household utensils depends on the density of the abrasive layer.
If the mixer was initially configured to operate at several speeds, all sharpening and polishing must be performed at maximum speed. It will be more productive.
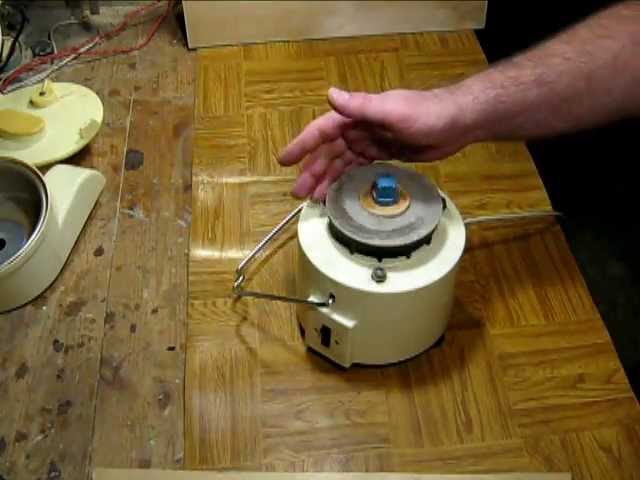
Figure 3 Second Life Mixer - Sharpening Tool
Connecting equipment to the pedal control
It is not always convenient to select and manually control the speed of the new equipment. You can supplement the grinder with a pedal as follows:
- disassemble the case;
- disconnect electronic control;
- connect the motor directly and connect to the pedal.
However, you need to know that not every model is suitable for connecting to a new device. Incorrectly selected equipment will lead to overheating of the engine and its failure. All this may result in a short circuit. It is not difficult to calculate the required power, on each product there is a label indicating the nominal parameters.
To calculate the optimal load current of the pedal, you need to divide the power of the mixer motor by the voltage in the network. In our case, it is:
- 700 watts / 220 volts = 3 amperes.
If the pedal has a factory rated load current above 3 amperes, such a connection is quite realistic.
Such a device is suitable for sharpening household knives, meat grinder knives, home tools, and can be used to polish wooden, plastic or metal objects.
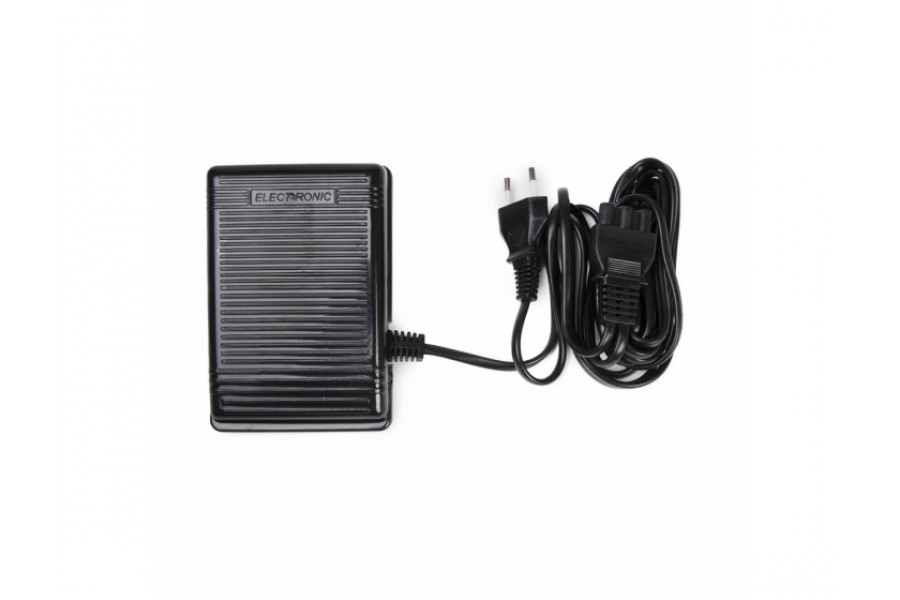
Figure 4 Pedal-free motor control
Bor-machine from a working old mixer
The engine in the old mixer has good power, its performance has been tested by time.You can make a boron machine useful in everyday life with your own hands, for this you will additionally only need a motor from a portable mixer, 2 jars: from under the coffee and freshener, the diameter of one should be slightly larger, and a small piece of decorative leather.
The step-by-step process of remaking is as follows.
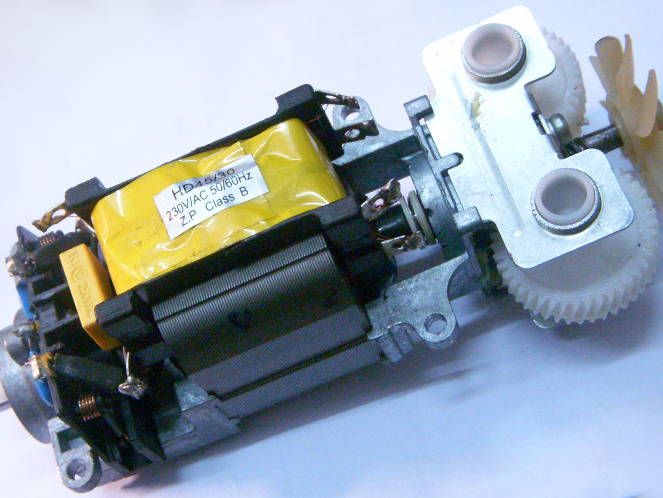
Figure 5 Engine from a conventional mixer
- Disassemble the mixer housing and remove the 220 volt motor.
- The fan must be moved as close as possible to the engine, for this you will need to remove all unnecessary elements that are secured from the fan base to the shaft housing. They do not carry any functional load on the future product. After that, screw the fan to the end of the shaft leg.
- Next, you need to cut the top from the can of freshener to the beginning of the narrowing point.
- The cut-off top should ideally fit into the opening of the second coffee can. For reliability, it can be fixed by cold welding and wait for complete solidification. First you need to make small holes at a distance of 2-3 mm from the edge in a circle, which will serve for additional air exchange during fan operation.
- After welding hardens, it is necessary to insert an empty bearing of the same size in the remaining hole for future fixation of the bur, then carefully press the hole in with a hammer. After that, cover all voids from the inside with epoxy resin.
- Cut a rectangular hole in the bank to bring the control to the outside. Then insert the engine inside the housing and fix it on a metal frame, which should be welded previously or used from improvised means.
- To close the bottom, you can apply a metal drain from the sink, the holes will serve for additional air exchange. It should be welded using liquid welding.
- After assembling the equipment, its body should be ennobled with a flap of leather.
In the finished bur, you need to put a washer on the nozzle to the shaft or tighten any fastener. Do it yourself with zero investments, you get a universal device with which you can create real masterpieces in everyday life.
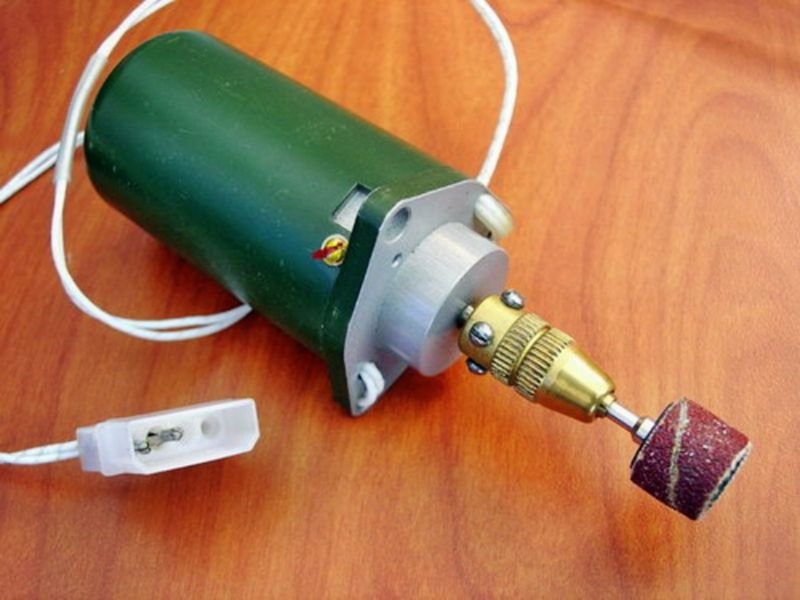
Figure 6 You can find many uses for the drill
We make interesting objects from a flask
If the stationary mixer is equipped with a flask without cracks, and it is still in good condition, you can make a candlestick that will bring comfort and coziness on winter evenings. There are a lot of manufacturing options:
- fix on the outer surface of the cork from under the wine, pour coffee beans inside and put a decorative candle;
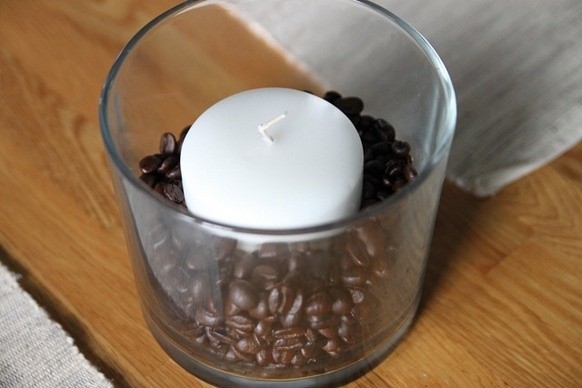
Figure 7 Coffee beans will fill the room with an invigorating aroma
- the walls on the outside can be glued using decoupage technique, choosing a coating from a three-layer napkin that will be suitable for the design. Be sure to fix the surface with PVA glue;
- stick a dark or black napkin on the outside, pre-cut small patterns on it. The glare of the candle will be interesting to play in the slot on dark evenings;
- glued glass beads outside, beautiful buttons, dried flower. You can apply PVA glue to the surface and immediately sprinkle with colored salt, semolina or decorative chips.
There are a lot of decoration options, you must choose one that fits into the style of the room.

Figure 8 Special paints can be used for external decoration.
Mixer disassembly
If the mixer is no longer working, and we have already come up with a flask, we don’t have to rush to throw the case with the engine. You can disassemble it and pick up something useful for future alterations. The disassembly process must be carried out as follows.
- Unscrew the connecting screws with a screwdriver.
- Determine visually the cause of the engine malfunction in order to understand which of the internal parts or assemblies may come in handy later.
- From a dead engine after disassembly, you need to pay attention to the following components and elements:
- mode switch;
- indicator light;
- engine. If you disassemble it, you can subsequently use the rotor and stator;
- wires
- copper wiring coil;
- network wire.
So, finally, the good old mixer can serve as spare parts in future alterations.
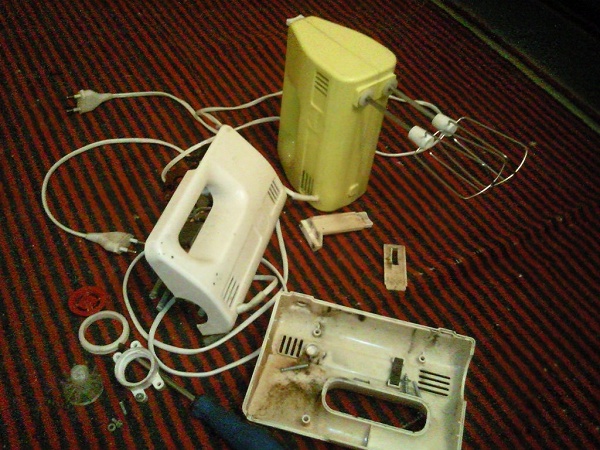
Figure 9 Parsing the Old Mixer
Do-it-yourself things are not only saving money, it is also a manifestation of creative abilities. After all, it is much more pleasant to use a tool in the manufacture of which one has its own soul. Do not rush to throw away old things, you can always find use for them and give a second life to your favorite equipment once.
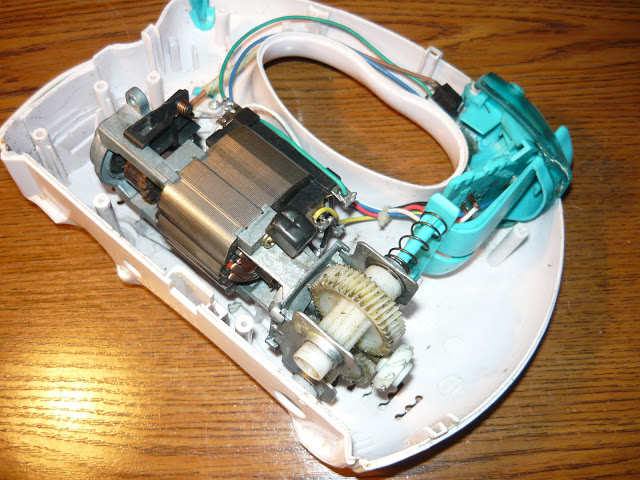
Figure 10 Second Life to the Old Mixer