Reasons for need tablet battery replacement maybe a few. In the first place is the loss of battery capacity, which is expressed in the reduction of continuous operation between charges. There are also such reasons:
- Inability to charge or charge too long;
- Thickness increase (bloating);
- Lack of tightness
Loss of capacity and a long charge cause great inconvenience when working with the gadget. As a result, the device cannot be taken with you on the road or you need to constantly carry a backup device for recharging (PowerBank), which is comparable in weight and cost to the tablet itself.
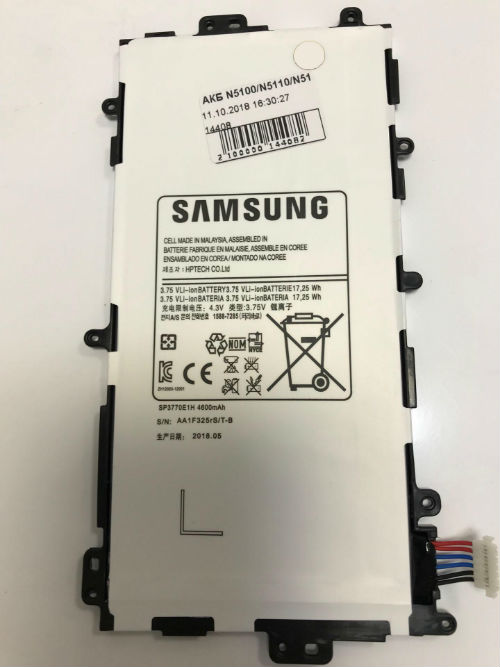
Figure 1. Original Samsung Battery
It is somewhat cheaper to change the battery in the tablet in conventional services. Such organizations can also give a guarantee for installed units, but there is a high probability of installing counterfeit elements, which differ from the original ones at a lower price and much worse parameters.
You can change the battery yourself, if you have the necessary tools and spare parts.
Which battery should be installed
Several battery replacement options and consequences are listed:
- Installation of an original spare part with identical parameters. This is the best option, as a result of which the gadget will have the same parameters as when buying in a store.
- Original spare parts with other parameters. If the manufacturer allows the installation of alternative batteries, then this is possible. At the same time, a larger battery will increase the duration of the device between charges. Installing a less capacious power source is advisable only in the absence of the necessary and in case of complete failure of the replaceable one, since after replacement the device’s operating time will become less.
- Non-original battery with identical parameters. There are several manufacturers that produce batteries for repairing devices. Such batteries have similar parameters, but are cheaper than the original ones. Such a replacement is no worse than the first option.
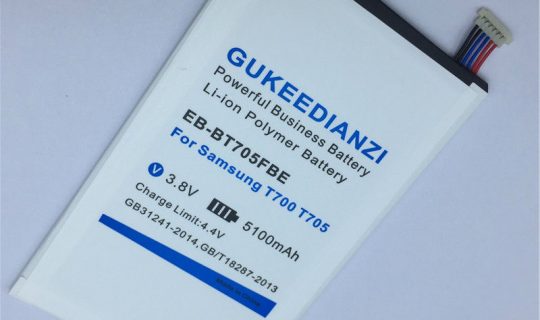
Figure 2. Non-original battery. Good replacement option
- Non-original battery from an unknown manufacturer. This replacement option is not recommended, since there are no guarantees in the quality and compliance of the declared capacity with real capacity.
- Installing an aftermarket more powerful battery. It is impossible to say exactly what parameters the charge controller built into the device is designed for. There is an option that the operating time will increase, but it is possible that the battery will not be fully charged, and this will lead to a quick failure.
- Installing a weak battery. This option also will not do anything good. Not only will the gadget's operating time be reduced, the controller built into the battery may not be designed for the high charge current that the device controller gives out. As a result, the battery case may swell up to a fire.
Repairing a budget tablet does not require large financial costs and time and is available with your own hands.
Replacement Procedure
In the scope of one article, it is impossible to describe in detail the process of replacing batteries in all types of tablets. But the replacement process for most devices has the same principle. Before you begin, pick up the following tools:
- A set of small curly screwdrivers;
- Plastic spatula for opening latches;
- Tweezers;
- Side cutters;
- Double-sided tape;
- Small-sized low-voltage soldering iron;
- Solder;
- Flux.

Figure 3. A set of screwdrivers for repairing small-sized devices
Tablets from leading manufacturers usually have a housing that is pulled together by screws with a cross-shaped slot, although one can also find a slot in the form of a hexagon or asterisk. Often the case is assembled on latches, and self-tapping screws are used to attach the battery.
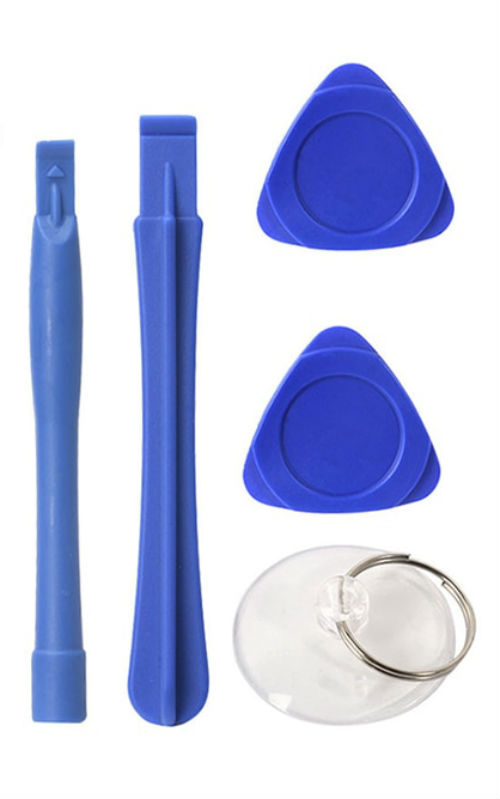
Figure 4. Plastic repair tool
The procedure is as follows:
- Opening the case;
- Removing the battery mounts;
- Disconnecting the battery from the board;
- Connecting a new battery and securing it;
- Body assembly.
Autopsy
The process of replacing the battery on the tablet begins with opening the case. In the absence of self-tapping screws, opening can cause difficulty, since it is not always possible to understand where the latches are and in which direction they open. A plastic spatula will come to the rescue, which is inserted into the slot in the housing. By easily swaying the blade, you can determine the configuration of the latches, and moving the blade along the gap, disconnect the cover from the housing. Often tablets have a detachable display, and the board is rigidly attached to the case. In such cases, do not apply strong bending forces to the screen so as not to damage it.
Instead of a shovel, you can use a defective plastic bank card, especially if you slightly grind one of its corners with a fine-grained file.
Battery removal
For branded devices, batteries are attached with self-tapping screws, but most manufacturers of budget devices use double-sided tape.
Before removing the battery, you need to carefully remove the cables from it with tweezers, which can be glued with special tape. It is impossible to bend the loops strongly.
They are especially neat when the battery is glued with tape to the tablet display.
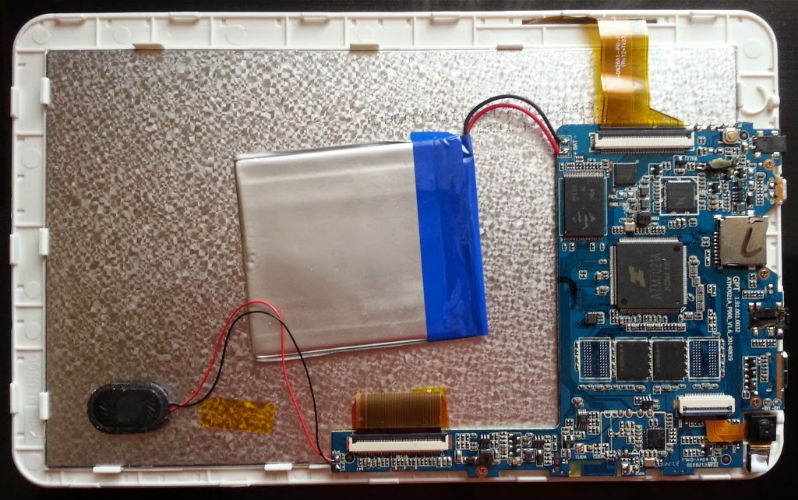
Figure 6. Battery in a cheap tablet
The battery is connected to the motherboard by two wires. On branded devices, a small-sized connector is used, and in simple ones, the wires to the board are soldered.
If, instead of the original battery with a connector, a simple one is installed, you must carefully bite off the connector with side cutters, leaving two or three centimeters of wire supply on it, then to solder the battery to them.
In order to solder the wires from the board, use a low-voltage soldering iron with a thin tip. A well-heated tip of the tip touches the soldering point of one of the wires and disconnects it. The sting should not be overheated, because the heat on the board can damage the tracks.
Similarly, the wires are soldered to the board. To solder evenly wet the surface of soldered elements, use a drop of flux. Well, if there is a tubular solder, which already has a flux inside.
Do not reverse the polarity of the connection! The positive wire is usually red or brown, and the negative wire is black or blue.
After soldering, carefully inspect the board so that there are no short circuits between the pads. Soldered wires to the connector must be insulated with strips of insulation tape.
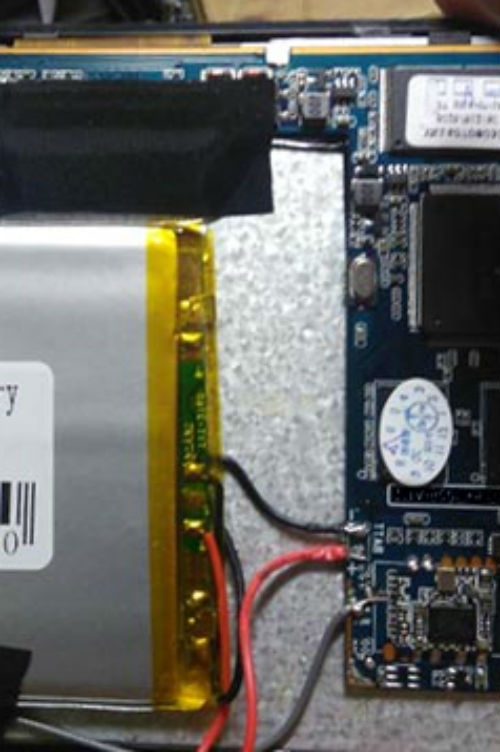
Figure 6. Soldering wires
Assembly
The battery mount and housing are assembled in the reverse order. It is only necessary to carefully monitor that the wires and cables inside the case are laid in place, since there is no free space in small-sized devices, and the case may not close.
Turning on
After replacing the battery in the tablet, the first time you turn on the device with a new battery may disappoint. No need to be upset. The internal controller of the device will not allow it to turn on when the battery is very low. Connect the tablet to the charger and after a while it will work.
Some models require battery calibration. This can be done by finding the service manual for this model on the Internet.